

Restoring vintage vehicles is more than just a passion; it is an art that requires both skill and knowledge. One of the most common challenges faced by enthusiasts and restorers alike is dealing with rust and body damage. These issues not only affect the aesthetic appeal of classic cars but can also compromise their structural integrity if left unresolved.
Rust is an insidious enemy that can spread quickly if not addressed promptly. For vintage vehicles, which often spent decades exposed to the elements, understanding how to repair and manage bodywork is crucial. This involves a careful process of assessment, treatment, and restoration to ensure the vehicle retains its original charm while regaining its durability.
In this article, we will explore effective methods for repairing rust and body damage on vintage vehicles. From identifying the signs of rust to selecting the right materials and techniques, we aim to provide you with a comprehensive guide that will empower you to tackle these challenges with confidence. Whether you are a seasoned restorer or a novice, mastering these skills will help preserve the beauty and history of these timeless machines.
Assessing the Extent of Rust Damage Before Repair
Before undertaking the restoration of vintage vehicles, it is crucial to assess the extent of rust damage to ensure effective bodywork repairs. Rust can manifest in various forms, from surface corrosion to deep pitting that compromises structural integrity. Proper assessment allows for informed decisions regarding repair techniques and material replacement.
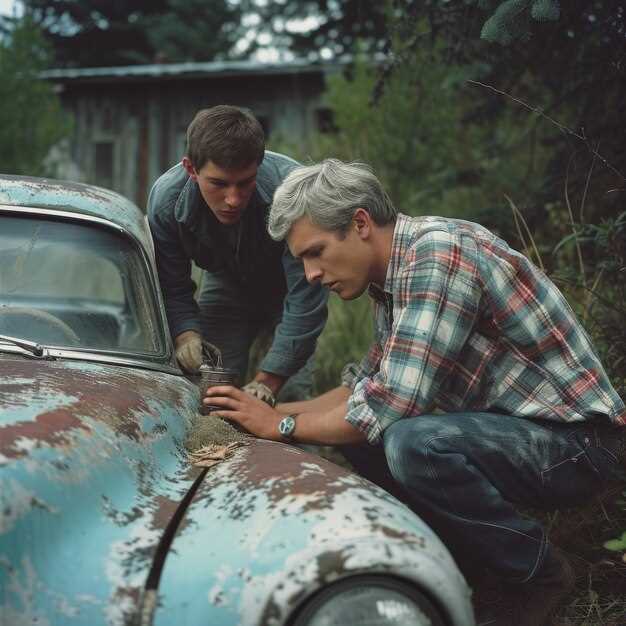
Start by conducting a thorough visual inspection of the vehicle. Look for rust spots on both the exterior and underneath, as well as within the wheel wells and any hidden areas. Use a flashlight to illuminate dark spaces and identify rust accumulation that might not be immediately visible. Pay special attention to seams and joints where moisture tends to collect.
Next, perform a tactile evaluation. Gently probe suspected areas with a flat-head screwdriver or similar tool. If the metal feels soft or crumbles under pressure, this indicates serious rust deterioration that may require section replacement rather than simple patching. Be cautious, as this can escalate repair costs considerably.
Another important step is to utilize chemical rust test kits, which can help determine the type and severity of rust present. These kits often reveal the extent of oxidation, allowing for a more accurate assessment of needed repairs. This information is vital for choosing the right materials and techniques for effective bodywork.
Finally, document your findings. Take photographs of affected areas, noting the severity and specific locations of rust damage. This record will serve as a reference throughout the repair process and may also be valuable if additional expertise is needed.
In summary, assessing rust damage comprehensively enables vintage vehicle restorers to make informed decisions about bodywork repair strategies, ultimately leading to a successful restoration project that preserves the vehicle’s original charm and safety.
Step-by-Step Guide to Removing Rust and Prepping for Bodywork
Removing rust and preparing for bodywork on vintage vehicles requires a careful and methodical approach. Start by gathering essential tools such as wire brushes, sandpaper, rust converter, protective gear, and body filler. Ensure your workspace is clean and well-lit to facilitate the repair process.
The first step is to assess the extent of the rust damage. Inspect the affected areas thoroughly to determine if the rust is surface-level or if it has penetrated deeper into the metal. Use a wire brush or angle grinder to remove loose rust and paint surrounding the area, exposing clean metal underneath.
Once the surface rust is removed, clean the area with a degreaser to eliminate grime and oils. After cleaning, dry the surface completely. Apply a rust converter to any remaining rust spots. This product chemically converts rust into a stable compound, which helps prevent future corrosion.
After the rust converter has dried, sand the area using medium-grit sandpaper to ensure proper adhesion of body filler. Feather the edges of the repair area to create a smooth transition between the old paint and the bare metal. Switch to fine-grit sandpaper to achieve a smooth surface for the next steps.
If the rust damage has created holes or significant imperfections, apply body filler to the area. Mix the filler according to the manufacturer’s instructions and spread it over the damaged sections, ensuring to fill in all defects. Allow the filler to cure as per the recommended time before sanding it down to a smooth finish.
Finally, once the filler is sanded smoothly, wipe the area with a clean cloth to remove any dust. The surface is now ready for priming and painting. This preparation step is crucial for achieving a seamless finish during bodywork, resulting in a restored appearance for your vintage vehicle.
Choosing the Right Materials for Repairing Vintage Vehicle Body Parts

When it comes to repairing the body of a vintage vehicle, selecting appropriate materials is crucial for achieving durability and preserving authenticity. Vintage cars often require rust remediation in addition to body repairs, making material selection even more critical.
Metal Type: For structural repairs, using original metals such as steel or aluminum is essential. These materials not only reflect the original craftsmanship but also provide the strength necessary to support the vehicle’s frame. When dealing with rust, consider using galvanized steel or stainless steel, which can resist corrosion and extend the life of repairs.
Body Fillers: In cases where body panels are pitted or dented, high-quality body fillers are necessary. Two-part epoxy fillers typically offer better adhesion and durability compared to traditional fillers. Make sure the chosen product is compatible with the existing metal to avoid future rust issues.
Paint Systems: To protect repaired areas from rust, a robust paint system is vital. Use a high-quality primer that prevents corrosion, followed by an automotive paint designed for vintage vehicles. This ensures that the final finish not only looks appealing but also provides a layer of protection against the elements.
Welding Materials: When brazing or welding, select filler materials that match the composition of the vehicle’s body panels. Using the right welding rods or wire will help mitigate rust formation and maintain the integrity of the repair.
In summary, selecting the right materials for repairing vintage vehicle body parts is essential for both aesthetic appeal and long-term durability. Utilizing high-quality metals, fillers, paints, and welding materials will ensure that repairs effectively combat rust and stand the test of time, preserving the vehicle’s heritage for future generations.